

An immigration court hearing can feel like the kind of appointment that takes over your whole week, even if the hearing itself lasts only a few minutes. The good news is that preparing for an immigration court hearing is not about sounding perfect. It is about getting organized early, knowing what kind of hearing you have, and walking in with a plan.
What this hearing is and why preparation changes everything
An immigration court hearing is a court appearance before an immigration judge. Depending on your case, that hearing may be about scheduling, bond, testimony, evidence, or a final decision about whether you can stay in the United States. That is a lot to carry into one morning.
Preparation changes the whole experience because uncertainty is what makes court feel chaotic. Once you know your hearing date, your case type, your documents, and your legal goal, the day starts to feel less like a free fall and more like a checklist. That shift matters. It helps you catch mistakes early, avoid missed deadlines, and speak more clearly when your case is called.
If your case is already in court, you are likely dealing with removal case basics and what happens next. Knowing that bigger picture makes every step below easier to understand.
What you’ll need before you start
Before Step 1, pull everything into one place. Do not try to prepare from memory or from random screenshots in your phone. Immigration court cases often turn on dates, prior filings, and details that seem small until they are not.
Block off at least a few uninterrupted hours to gather papers and build your file. If your hearing is soon, if you missed a notice, or if your case involves asylum, criminal history, detention, or a prior order, get legal help fast. This is also the point where you should know what an immigration attorney actually does in a case like this, because the right help can change how you prepare from day one.
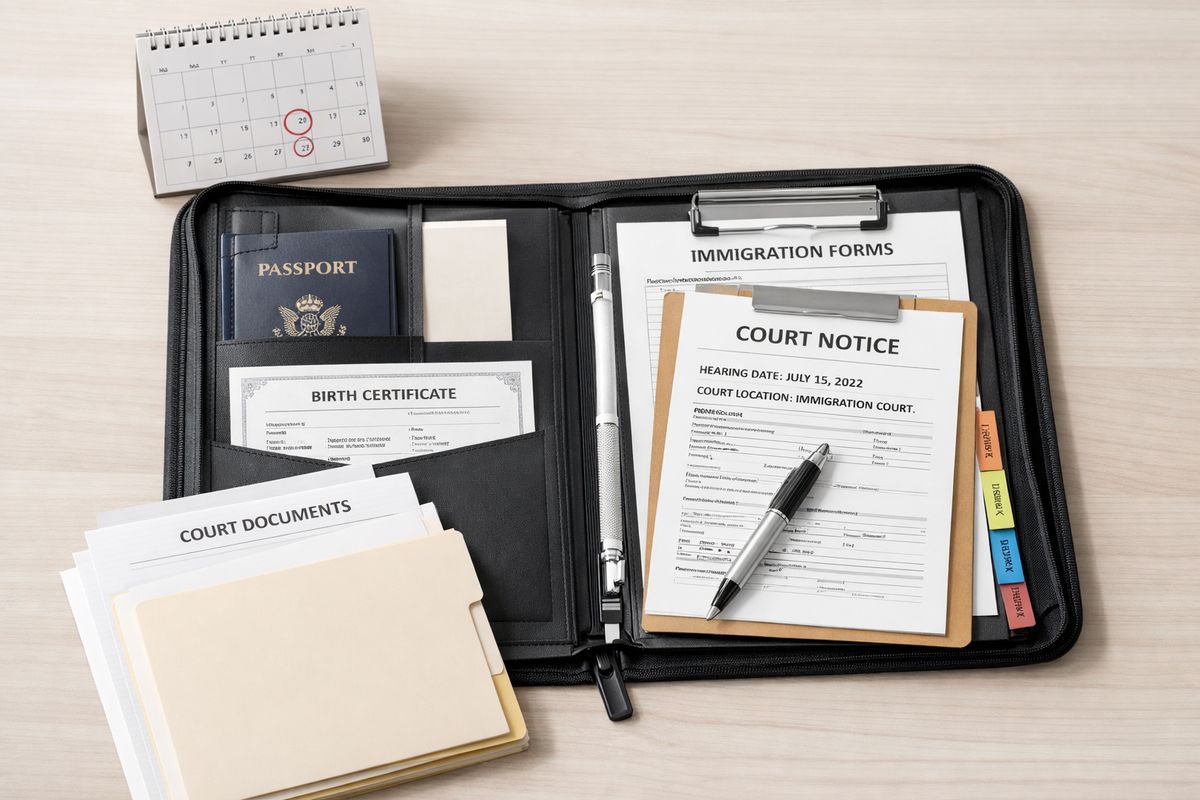
Your Notice to Appear and all court papers
Start with your Notice to Appear, often called the NTA, and every notice or order you have received from the immigration court or immigration agencies. These papers tell you the court location, hearing history, allegations in your case, deadlines, and what has happened so far.
Read every page, front and back. If something looks routine, read it anyway. A single line about a filing deadline or an address update requirement can matter more than the rest of the packet.
Your immigration history in one place
Put together a basic timeline of your immigration history. Include entries into the United States, visa applications, work permits, asylum filings, prior interviews, prior denials, contact with border or immigration officers, and any case already filed by a family member or employer.
If your case connects to another filing, such as a family petition, get those records too. For example, if a relative filed for you, it helps to understand how a family petition works and what it actually does before you go into court talking about it.
Identity, family, and address documents
Gather your passport, birth certificate, marriage certificate if relevant, children’s birth certificates, state ID, work permit, and proof of current address. Add school records, lease records, bills, or other documents that show where you live and how to reach you.
Identity documents are the spine of your file. If your name appears differently across documents, make a note of that now instead of discovering it while standing at counsel table.
A calendar, folder, and note-taking system
Use one folder for originals and one for copies. Then create a simple note system, either on paper or in your phone, for dates, questions, and tasks. Add every hearing date and filing deadline to a calendar with alerts.
Honestly, this part sounds boring. It also saves people from last-minute panic more than almost anything else.
When to contact an immigration lawyer right away
Do not wait if any of these are true: you missed a hearing, you have a prior removal order, you were detained, you have any arrest or conviction history, you are filing for asylum near a deadline, or you are not sure what relief you qualify for. Those are not small complications. Those are case-shaping issues.
If you are still deciding whether to hire counsel, read about when handling a case alone stops being realistic. Gondim Law is one of the leading immigration law firms in Los Angeles, and scheduling a consultation can give you a clear plan before your hearing date gets too close.
Step 1: Confirm your hearing date, time, and court location
- Pull out your most recent hearing notice.
- Find the date, time, and location listed on that notice.
- Confirm whether the hearing is in person, by phone, or by video.
- Verify that the notice is still current through official court tools.
- Save the information in more than one place.
Success here looks simple: you know exactly where to be, when to be there, and how the hearing will happen.
Check your notice carefully
Look for the hearing date, start time, courtroom information if listed, and full address of the immigration court. Some notices list a hearing room, while others require you to check the docket when you arrive. Also pay attention to whether the hearing is a master calendar hearing, individual hearing, or something more specific.
Do not rely on memory, especially if your case has been pending for a while. A notice from six months ago may not reflect a changed date.
Verify the hearing through official court tools
Use the Executive Office for Immigration Review case information system to confirm your hearing details through EOIR’s automated case information tools. If your hearing information has changed, that system can help you catch it before you head to the wrong building.
If your case involves custody or detention issues, extra verification matters because scheduling can move quickly.
Save the details in more than one place
Put the hearing on your phone calendar with at least two reminders. Write it on paper and place that paper somewhere obvious, like next to your keys or on your refrigerator. Share the details with a trusted person who can remind you.
Showing up at the wrong building at 8:30 a.m. helps nobody. Redundancy is your friend here.
Step 2: Figure out what kind of hearing you have
- Read your notice to see how the hearing is labeled.
- Match that label to the purpose of the hearing.
- Adjust your preparation based on what the court will actually do that day.
This step matters because a short scheduling hearing and a full testimony hearing require very different levels of preparation.
Master calendar hearing
A master calendar hearing is usually a short, procedural hearing. The judge may confirm your name and address, review the allegations and charges in your case, ask whether you have a lawyer, discuss deadlines, and schedule future dates.
At this hearing, you often are not presenting full testimony or all evidence. But do not confuse “short” with “unimportant.” A missed address update, a wrong answer about legal representation, or silence about needing more time can affect the entire case.
Individual hearing
An individual hearing is more detailed. This is often the hearing where testimony is taken, witnesses may appear, and documents matter in a much more serious way. If your case reaches this stage, your preparation needs to be tight, consistent, and organized.
Think of a master calendar hearing as setting the table. An individual hearing is the meal.
Bond or other special hearings
Some hearings focus on bond, custody status, motions, or other procedural issues. These may require specialized preparation, especially if release from detention is at stake or if the court is deciding a narrow legal issue before the main case moves forward.
If you are not sure what kind of hearing you have, do not guess. Confirm it from your notice and case information.
Step 3: Read every court document line by line
- Gather all notices, orders, applications, and receipts.
- Read them slowly, one page at a time.
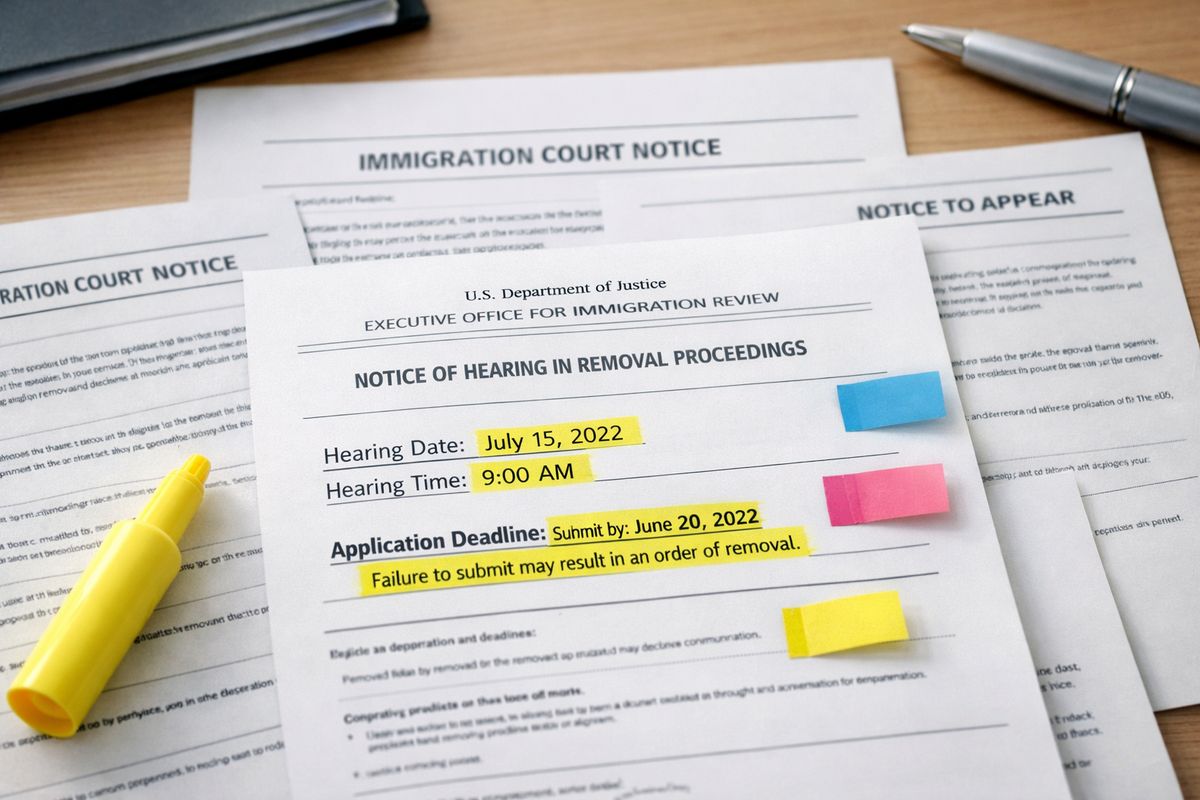
- Highlight allegations, dates, deadlines, and court instructions.
- Write down anything inaccurate or unclear.
- Keep a list of missing documents or tasks.
This is where people often find the problem that would have blindsided them later.
Review the allegations and charges
Your Notice to Appear usually includes factual allegations and legal charges. Allegations are the government’s statements about facts, such as when you entered the country or what status you had. Charges explain the legal reason your case was started.
Some language looks scarier than it is because it is written in legal terms. Read for the actual claim. Is the government saying you entered without inspection, overstayed a visa, violated status, or became removable for another reason? That is the point you need to understand.
Mark every deadline and missing item
Look for filing deadlines, biometrics appointments, requests for applications, and instructions from prior hearings. If the judge ordered something by a certain date, mark it immediately.
If you have ever dealt with a request for missing evidence in another immigration filing, the same rule applies here: treat deadlines seriously and answer precisely, just as you would when fixing a case after an evidence request arrives.
Flag anything that looks wrong
Check names, A-numbers, dates of entry, addresses, country information, family facts, and prior immigration history. If something is wrong, make a note and prepare to raise it appropriately.
Bad information has a way of repeating itself across forms and hearings. Catch it early.
Step 4: Get clear on your legal options and forms of relief
- Identify what outcome you are asking the judge for.
- Match your facts to that legal option.
- Learn what you must prove.
- Decide quickly if your case is too risky to handle alone.
Everything in your case points back to one question: what relief are you asking for?
Match your case to the relief you are requesting
Relief is the legal reason the judge could allow you to remain in the United States or otherwise resolve the case favorably. That might be asylum, cancellation of removal, adjustment of status, voluntary departure, or another form of relief.
Your preparation should support that exact request. If your case is based on fear of harm, gather proof connected to that fear. If it is based on family-based adjustment, gather the petition, relationship documents, and eligibility records that support that path. Random paperwork does not help much if it does not connect to the relief you want.
Understand what you must prove
Each form of relief has elements you must prove. In plain English, that means specific facts the judge must be able to find true. For asylum, that may involve past harm or fear of future harm tied to a protected reason. For cancellation, it may involve years of physical presence, qualifying relatives, and hardship. For adjustment, it may involve an approved petition and admissibility.
You do not need a law school lecture. You do need clarity on what the judge is looking for.
Know when the case is too risky to handle alone
Here is the direct truth: if your case involves deadlines, criminal history, prior removal orders, fraud allegations, asylum timing issues, or complicated relief, handling it alone is not practical in any real sense. Those cases need legal strategy, not guesswork.
Step 5: Hire an immigration lawyer or prepare to ask for time to find one
- Start calling qualified immigration lawyers as soon as possible.
- Bring your full file to the consultation.
- Ask focused questions about strategy and deadlines.
- If you cannot secure counsel before the hearing, prepare to ask the judge for more time.
A good consultation should leave you with clarity, not confusion.
What to ask during a consultation
Ask what kind of hearing you have, what relief may be available, what deadlines matter most, whether interpreter support is needed, how evidence should be organized, and what fees cover. You should also ask how the case would be prepared for testimony and whether any immediate risks stand out.
If you want a faster way to prepare, review a list of smart questions to bring into a lawyer meeting before you go.
Documents to bring to the first meeting
Bring your Notice to Appear, all court notices, prior applications, identity documents, passport, work permit, proof of address, any immigration receipts, criminal records if relevant, and any evidence connected to your case. If you already have witness letters or translations, bring those too.
The goal is to let the lawyer see the real file, not a partial version of it.
How to ask the judge for more time to find a lawyer
If your hearing arrives before you can hire counsel, ask respectfully for a continuance, which means a new hearing date. Be clear and direct. Explain that you are trying to find an immigration lawyer and need additional time to secure representation.
Do this early in the hearing when your case is called. Do not wait until the end after answering a string of questions you were not ready to handle.
Step 6: Gather evidence that actually supports your case
- Start with official records.
- Add documents that show your life, family, residence, work, and hardship.
- Sort everything by issue.
- Make copies and protect the originals.
The trick is not to collect the biggest stack of paper. The trick is to collect proof that answers the judge’s actual questions.
Start with the core records
Begin with passports, entry documents, immigration notices, application receipts, prior decisions, police records, court records, and medical records if your case involves health or injury issues. These documents create the base timeline.
If you have been in multiple immigration processes, gather each piece. A missing old filing can create confusion later, especially if dates do not line up.
Add proof of family, residence, work, or hardship
Now add the documents that show the real-life side of your case: tax records, leases, school records, pay stubs, letters from employers, counseling records, children’s records, utility bills, and other proof that supports your claims.
Hardship, family ties, and long residence are not abstract ideas. They need paper behind them.
Organize evidence by issue, not by pile
Sort documents into labeled sections such as identity, entry history, family relationship, residence, work history, hardship, medical issues, country conditions, or fear of harm. That way, if the judge or lawyer asks for one point, you can find it in seconds.
A neat pile is not the same thing as an organized file. Sort by purpose.
Make copies and keep originals safe
Bring originals when needed, but do not hand over your only version of an important document without understanding what is being submitted. Make copies for the court, the government attorney when required, and your own records.
Losing your only passport or your only signed record creates a problem you do not need.
Step 7: Prepare and file your applications the right way
- Complete every required form carefully.
- Review answers for consistency.
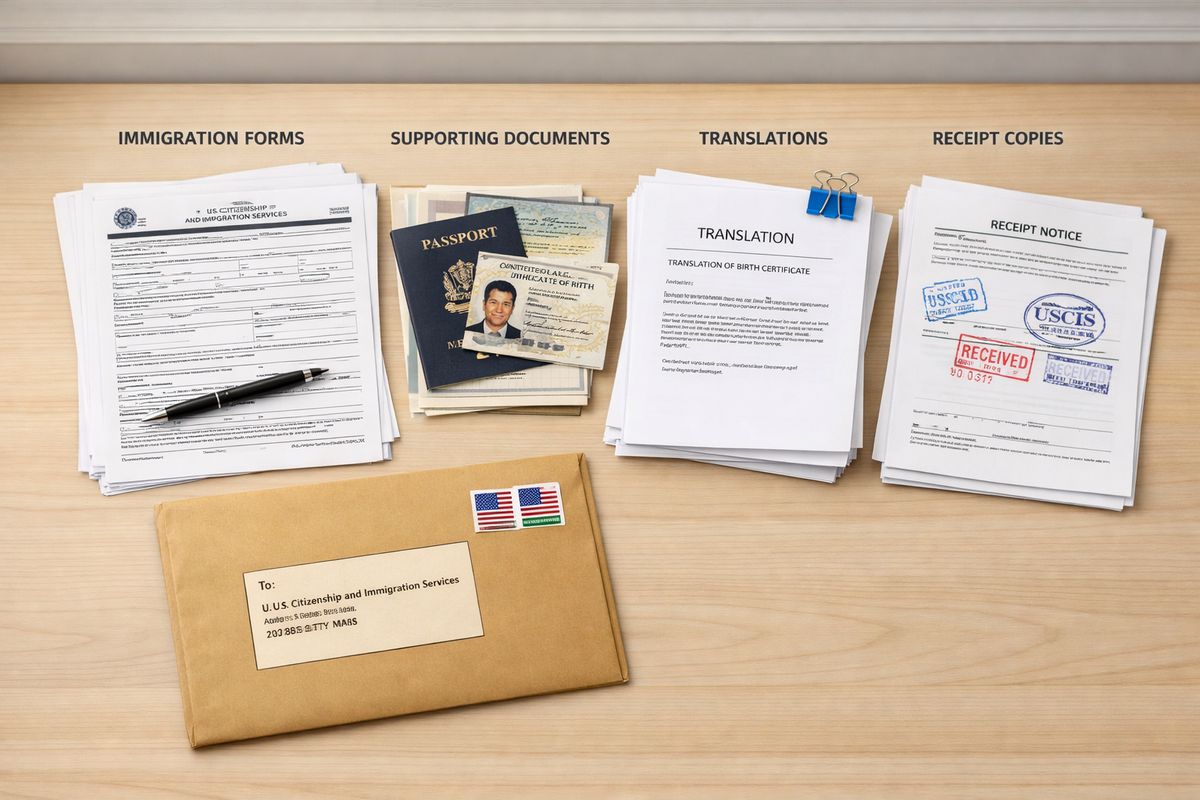
- Attach supporting evidence and translations.
- File by the deadline and serve the government if required.
- Save proof of everything submitted.
A strong case can still be delayed or weakened by sloppy paperwork.
Fill out every form carefully
Answer each question truthfully and consistently across all forms. Check names, addresses, dates, and travel history against your other documents. If a question requires an answer, do not leave it blank unless the form instructions allow it. Use “N/A” or “none” where appropriate.
Small inconsistencies have a way of becoming big distractions in court.
Include supporting documents and translations
Attach the evidence your application requires and include certified English translations for documents not in English. Follow any court-specific instructions on formatting, tabs, page limits, or filing method.
Court filings are not the place for half-finished packets. If the form calls for proof, include the proof.
Serve the government and keep proof
Filing with the court is only part of the job. In many situations, you must also provide the same documents to the government attorney, usually counsel for the Department of Homeland Security. Keep proof that you did this.
If you mail documents, save the receipt. If you file in person, keep stamped copies.
Track receipts, confirmations, and stamped copies
Create one section in your folder for filing proof. Put every receipt, tracking confirmation, courier record, and date-stamped filing copy there. If anyone later says a form was not filed, this is how you answer that.
Step 8: Practice what you will say in court
- Build a timeline of your case.
- Practice common questions out loud.
- Keep answers short and accurate.
- Prepare for interpretation issues if English is not your best language.
This step matters because nerves can make even simple facts harder to explain.
Build a simple timeline of your story
Write out the major dates in order: entry, moves, applications, family events, arrests if any, prior hearings, and any harm or threats relevant to your case. Keep it simple and factual.
When your timeline is clear on paper, your answers in court tend to stay clear too.
Practice answering common judge questions
Expect questions about your name, address, country of birth, date of entry, family members, current status, prior applications, and what relief you are requesting. If your case involves hardship or fear, practice describing those facts plainly.
Say the answers out loud. Court is not the best place to test a story for the first time.
Keep answers honest, direct, and short
Answer the question asked. If the answer is yes, say yes. If the answer needs context, give enough context to be accurate, then stop. Do not guess if you do not know. Say you do not remember exactly, if that is the truth.
Rambling is usually a stress response. Short, truthful answers are easier for everyone to follow.
Get ready for interpretation issues
If you will use an interpreter, speak in short sentences and pause often. If you do not understand the interpreter, say so immediately. If a translation sounds wrong, raise it right away before the record gets muddy.
That is not rude. It is necessary.
Step 9: Prepare witnesses, declarations, and letters of support
- Decide whether outside statements truly help your case.
- Choose witnesses with firsthand knowledge.
- Prepare declarations with specific facts.
- Make sure each witness understands the hearing process.
Support letters help only when they prove something real.
Decide whether a witness helps your case
A family member, employer, community contact, therapist, or expert may strengthen your case if that person can confirm important facts firsthand. But a witness who only offers broad praise without useful detail may not add much.
Choose witnesses who can speak to a specific point, such as your residence, your parenting role, your job history, your medical hardship, or the danger you fear.
Prepare witness statements clearly
A declaration or support letter should explain how the person knows you, what facts the person personally knows, and the dates or events involved. Specific details matter more than glowing adjectives.
“Visited every Sunday after the surgery from March through June” is useful. “A wonderful person” is not doing much work.
Make sure witnesses understand the hearing process
Tell witnesses where to go, what time to arrive, what identification to bring, and that courtroom questions should be answered directly and honestly. Consistency matters. A witness should never guess to sound helpful.
Step 10: Plan the hearing day from door to courtroom
- Choose simple, respectful clothing.
- Pack your folder, ID, and essentials the night before.
- Plan your route and parking or transit.
- Arrive early for security.
- Find the right courtroom and check in.
A calm hearing morning usually starts the night before.
Choose what to wear and what to bring
Wear neat, simple clothing that shows respect for the court. Bring your full document folder, identification, hearing notice, notebook, pen, water if permitted, and any medication you may need.
Skip anything that will complicate security or distract you. Keep it practical.
Arrive early and expect security screening
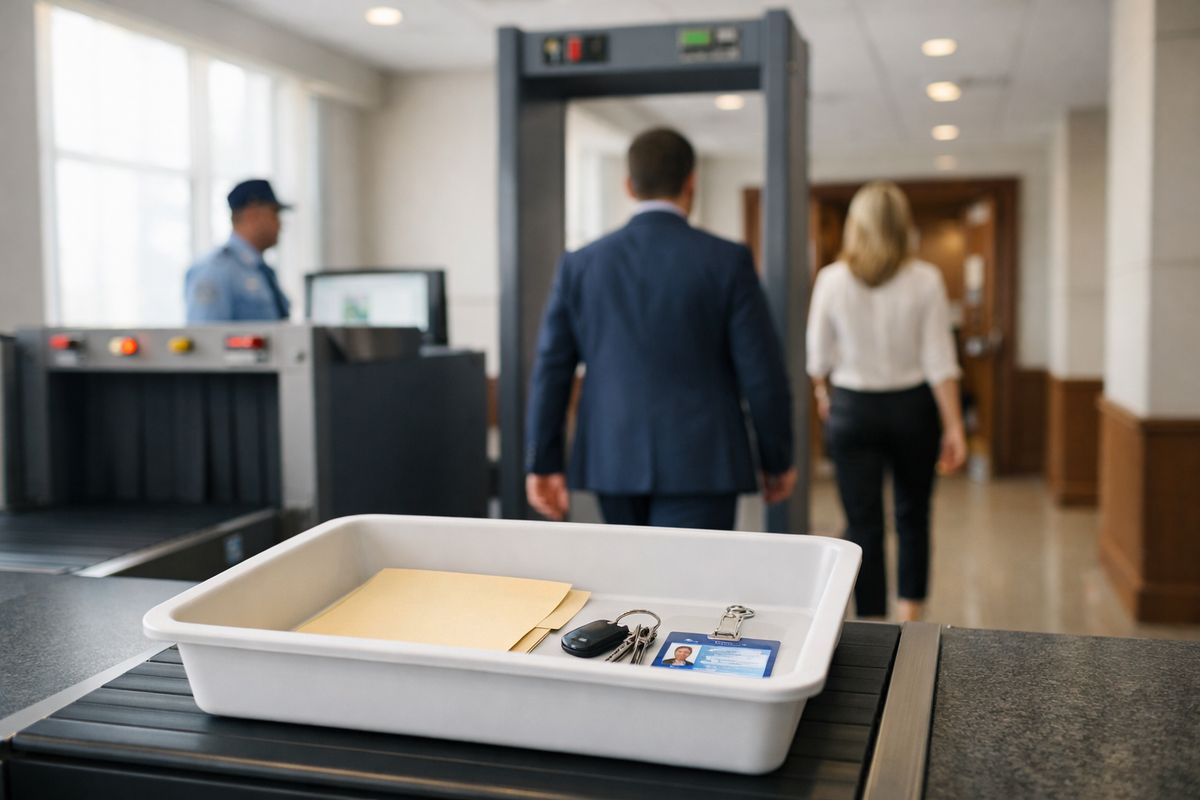
Plan to arrive early, not exactly on time. Courthouse entry can involve lines, ID checks, metal detectors, and delays that feel a lot like airport security on a Monday morning. A belt, coins, phone, or metal bottle can slow you down more than expected.
For official court and hearing information, use EOIR’s immigration court resources and case systems rather than rumor or social media posts.
Find the right courtroom and check in
Once inside, check the hearing docket or posted courtroom list. Make sure you are in the correct place. If check-in is required, do it promptly. If you have a lawyer, stay close by and keep your phone silent.
This is not the moment to wander off for coffee.
Know basic courtroom behavior
Stand when appropriate, listen carefully, and address the judge respectfully. Speak only when it is your turn. If you need clarification, ask for it clearly.
Formal settings can make anybody tense. That is normal. Calm behavior goes a long way.
Step 11: Handle the hearing itself with a clear plan
- Stay alert for your case to be called.
- Move quickly when your name or case number is announced.
- Answer clearly and only as needed.
- Speak up if you need an interpreter, clarification, or more time.
- Write down instructions before leaving.
You do not need to perform. You need to listen and respond carefully.
Listen for your case and move quickly when called
Courtrooms can move quickly, and names are sometimes pronounced incorrectly. Listen for your name, your A-number, or a version of your name that sounds close enough. When your case is called, walk up promptly.
Staying alert in the waiting area matters more than people expect.
Answer only the question asked
If the judge asks whether your address is still current, answer that question. If the judge asks whether you received a document, answer that question. Avoid launching into side stories unless your answer truly requires explanation.
Clear, narrow answers keep the hearing on track.
Ask for an interpreter, clarification, or more time when needed
If you cannot understand the language being used, if a document issue is stopping you from responding fairly, or if you are trying to obtain counsel, say so. The court cannot fix a problem you never mention.
This is especially true if there is confusion about notice, deadlines, or prior filings.
Write down what the judge says before you leave
Before leaving the courtroom, write down every next date, filing deadline, application instruction, and warning the judge gives. If you receive a written order, keep it safe immediately.
Do not trust yourself to remember it all later in the parking garage.
Step 12: Follow through immediately after the hearing
- Review your notes and paperwork the same day.
- Calendar every new deadline.
- Complete any follow-up filings or appointments.
- Update your address if needed.
- Stay in contact with your lawyer, if you have one.
A hearing often creates the next task rather than ending the case.
Review the judge’s instructions the same day
As soon as you get home, sit down at your kitchen table and review your notes, orders, and hearing paperwork. Make sure your calendar matches what the judge said. If anything is unclear, address it quickly.
Same-day review prevents details from slipping away.
Complete any next filings or appointments
If the judge ordered more evidence, another application, biometrics, or a future hearing, start working on it right away. Waiting until the week before the deadline is how avoidable mistakes happen.
Update your address right away if it changes
If your address changes, update it with the immigration court and any other required immigration agencies immediately. Missed mail can lead to missed hearings, and missed hearings can lead to serious consequences.
If you already missed a court date or found out about one too late, learn how a request to reopen a missed or broken case can work because timing matters.
Troubleshooting common problems before and during an immigration court hearing
Problems happen. The goal is to catch them early enough to fix them.
You missed a hearing notice or the date changed
If you did not receive notice or suspect the hearing changed, verify your case information immediately through official EOIR tools. Keep proof of your address history and copies of prior notices. If you miss a hearing, get legal help right away because the response window can matter a lot.
If your case started with a notice that left you panicking, it helps to review what to do after getting papers that put you into deportation proceedings.
Your paperwork is incomplete or inconsistent
Fix missing signatures, wrong dates, and conflicting answers before the hearing if possible. If you discover the problem late, do not ignore it and hope nobody notices. Be ready to correct it directly and explain it truthfully.
Messy paperwork is common. Uncorrected paperwork is the bigger issue.
You do not have an interpreter or cannot understand the one provided
Tell the judge immediately if you need an interpreter or if the interpretation is inaccurate. Speak up early, before important testimony goes forward.
A hearing record only helps you if it reflects what you actually meant.
You are late, sick, or facing an emergency
If something serious prevents you from attending, contact the court and your lawyer as fast as possible. Keep records of the emergency, such as hospital paperwork, accident reports, or travel disruption records if relevant.
Do not assume the court will excuse an absence automatically.
You are worried about prior arrests or criminal records
This is one of the clearest times to involve an immigration lawyer before saying much on the record. Criminal history and immigration law can interact in ways that are harsher than people expect, even when a case seems old or minor.
You feel too nervous to speak clearly
Slow down. Breathe before answering. Keep your eyes on the judge or interpreter. If you need a question repeated, ask for it. Short answers are easier to give when your heart is racing.
Nerves do not ruin a hearing by themselves. Guessing and rushing do.
What a good outcome looks like and what happens next
A good outcome does not always mean the case ends that day. Sometimes it means you got the right deadline, the right chance to file, the right continuance, or the right hearing date for the next stage. Progress counts.
Possible results from the hearing
Your hearing could end with a continuance, a filing deadline, scheduling for an individual hearing, a bond decision, or a ruling from the judge. In some cases, the judge may reserve decision and issue it later.
Each result creates a different next task, so focus on the actual order, not assumptions about what should happen next.
How to keep your case moving in the right direction
Keep copies of everything, calendar every deadline, and respond quickly to any new notice or filing requirement. If you have a lawyer, stay in touch and send requested documents promptly.
Court cases often get lost through delay and disorganization, not just bad facts.
One thing to do today
Pull out every court paper you have and confirm your next immigration court hearing date before the day gets away from you. That single step can prevent the kind of mistake that is hardest to fix later.
Frequently Asked Questions
What should you bring to an immigration court hearing?
Bring your hearing notice, photo identification, all relevant court papers, copies of filed applications, supporting evidence, a notebook, and a pen. If your case involves original records like a passport or birth certificate, bring those too, but keep them protected and organized.
What happens if you miss an immigration court hearing?
Missing a hearing can lead to very serious consequences, including an order entered in your absence. If that happens, act quickly, verify what the court entered, and get legal advice right away about possible options, including reopening the case if allowed.
Can you ask for more time to find a lawyer at your hearing?
Yes. If you do not have a lawyer yet, you can ask the judge for a continuance so you have time to find one. Ask clearly and respectfully when your case is called, and be prepared to explain that you are actively trying to secure representation.
How early should you arrive for immigration court?
Arrive early enough to get through security, find the right courtroom, and check in without rushing. In practice, that often means arriving at least 30 to 60 minutes before the scheduled time, depending on the courthouse.
What if you do not understand the interpreter?
Say so immediately. If an interpretation is unclear or wrong, speak up before the hearing moves forward. That protects the accuracy of the record and helps prevent misunderstandings that could affect your case.
Do you need an immigration lawyer for court?
Some simple appearances may seem manageable, but many court cases involve legal deadlines, relief options, and risks that are hard to handle alone. If your case includes asylum issues, criminal history, missed hearings, prior orders, or complicated relief, legal representation is the smart move.